FIX: chkdsk stuck on an external hard drive

To fix various PC problems, we recommend this tool:
This software will repair common computer errors, protect you from file loss, malware, hardware failure and optimize your PC for maximum performance. Fix PC issues and remove viruses now in 3 easy steps:
- Download this PC Repair Tool rated Great on TrustPilot.com.
- Click Start Scan to find Windows issues that could be causing PC problems.
- Click Repair All to fix issues with Patented Technologies (Exclusive Discount for our readers).
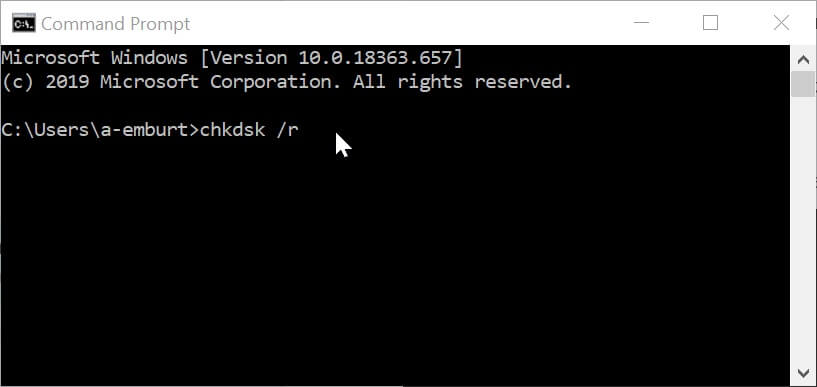
If your Windows 10 device is running slow, or if you get force close errors, a good idea is to run a general chkdsk operation. This way you will be able to fix errors and repair any corrupted files, resulting in a more stable and smoother Windows 10 system. This works just as well even if you are running it on an external hard drive.
Many complaints have risen about a chkdsk stuck, as more and more users aren’t capable to fix their Windows 10 problems since the disk check can’t be completed.
As you know, when a disk check is running, it is not recommended to reboot your device as you can end up hard bricking it. So, you should be patient until the check is over – in most cases this can take hours or even a whole day (so there is no problem with the disk check, you just have to let the process do its work).
If you are running a chkdsk on your external hard drive and it is stuck, try to follow the steps from below to fix it.
What can I do if chkdsk gets stuck on an external hard drive?
1. Use the Registry Editor
- Use the Windows 10 install CD or a repair CD (recovery image) of Windows 10.
- Enter the mentioned CD and reboot your device.
- Now, from the CD main window run cmd by pressing and holding Shift + F10 keyboard keys.

- Next, on the cmd window type regedit in order to open Registry Editor.

- Navigate to HKEY_LOCAL_MACHINE folder and from there select Load Hive.
- Go to path C:WindowsSystem32Config and pick System. If a name will be prompted enter something intuitive, such as Disksys, and just press enter to confirm.
- Now, you will have to navigate towards DisksysControlSet001ControlSession Manager and select BootExecute.
- From there change the autocheck autochk * /rDosDeviceC: line into autocheck autochk *.
- Go to your Disksys folder, select unload Hive and exit Registry Editor.
- Then in cmd type chkdsk c: /r and wait for the new process to complete.
If you can’t edit your Windows 10’s registry, read this handy guide and find the quickest solutions to the issue.
2. Run Disk Cleanup
- In the search box on the taskbar, type disk cleanup, and select Disk Cleanup from the list of results.

- Select the drive you want to clean up, and then select OK.
- Under Files to delete, select the file types to get rid of. To get a description of the file type, select it.
- Click OK.
So, if you can’t wait for the chkdsk process to complete or if you think that the disk check is stuck, try to follow the steps from above in order to fix this Windows 10 problem.
If you have any other questions or suggestions, don’t hesitate to leave them in the comments section below and we’ll be sure to check them out.

Comments
Post a Comment